Objective
How to create an order in the Customer Action panel
Applies To
- Jumper
- Live chat
- Customer Action panel
Procedure
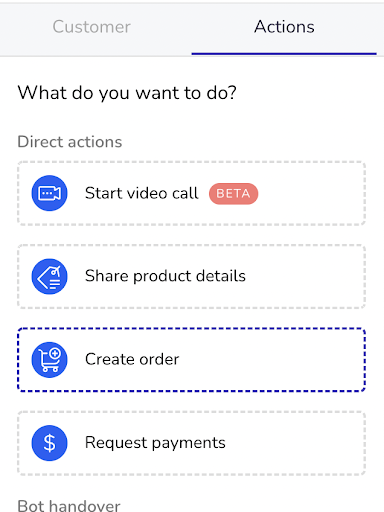
Create Order action is used to handhold the customer to create their cart during an ongoing conversation.
1. Click on the “Create Order” action to start creating a cart for the user.
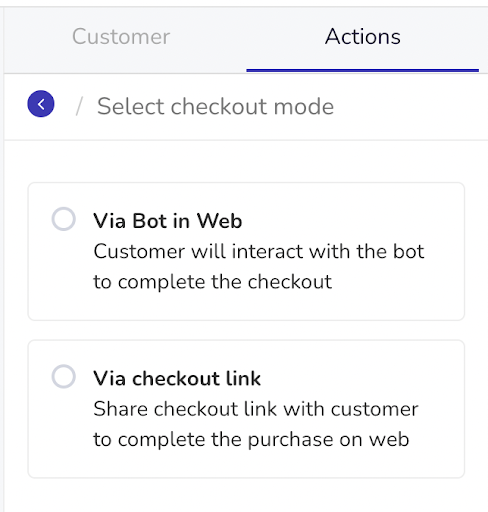
2. First you need to specify where you want your customer to checkout the order from, select any one between ‘Via Bot in Web’ or ‘Via checkout link’. If you select Via bot the checkout process will be carried forward within the bot with the avail payment methods or the customer will be redirected to another tab for order checkout.
3. Search for the product/Set chosen by the customer by browsing the list or using the search bar. Click on the product/Set.
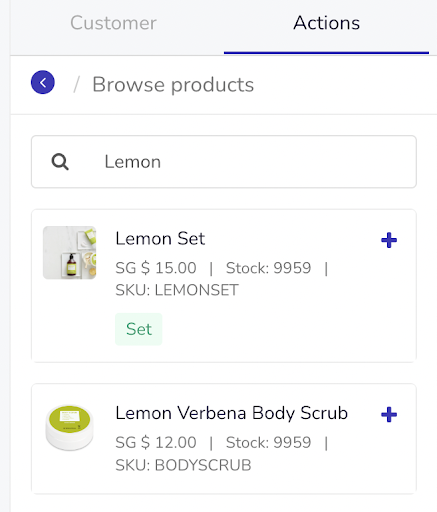
4. Once the relevant product/Set has been selected, the details will be displayed. Depending on your product configuration (Eg. products with variations or Variable Sets), choose the options if necessary.
5. Now adjust the quantity using the + or - sign.
6. Once confirmed, click the “Add to Cart” button.
7. Follow Step 3 to 6 to add more products to the cart.
8. Once all the required products have been added, click on the small Cart icon on the top right corner to view the cart.

9. From here, you can choose to adjust the quantities one more time or clear the cart. If all is good, click the “Proceed” button.
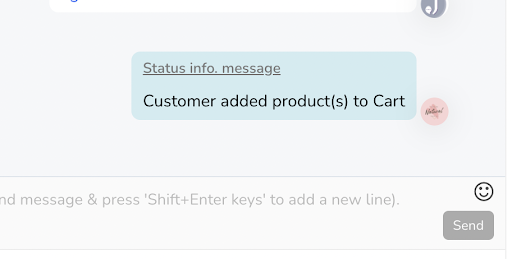
10. You will see a status message coming into the Conversation Panel.
11. If your brand has enabled Manual discounts, the coupon code screen will appear. If no Manual Discount has been enabled, this screen will be skipped.
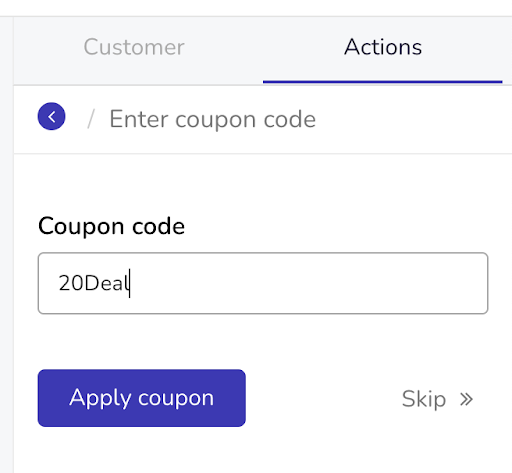
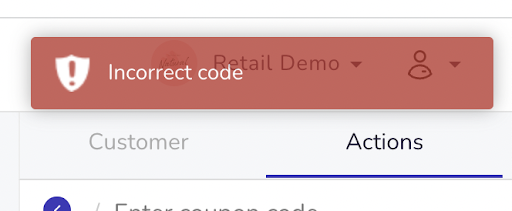
12. At this stage, you can ask the customer for any voucher code. If they have a Voucher code, input it into the coupon code section. Jumper will check for the validity of this code and apply it to the order if found Valid. If not, an “Incorrect code” alert will appear.
13. If you have enabled a Manual Discount code but the customer does not have any voucher code, you can choose to skip this step by clicking the Skip button.
14. On the next screen, you will find any automatic discounts that may be stackable or applicable on the order. You can again choose to apply this Automatic discount code or skip it.

15. Additionally, you will see Agent only discounts if activated on the dashboard. Remember that Agent only discounts can be used by clicking the relevant checkbox at your discretion. Agent can choose to apply or not apply the Agent only discount.
16. Once the discounts have been selected, click the “Apply promotion” button to apply the discount and wait for the order summary to appear.
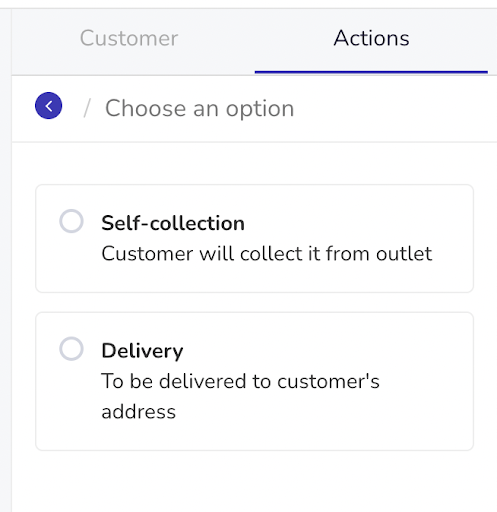
17. Check with the customer for Self-collection or Delivery option. (Is applicable only if click & collect is enabled for the added products)
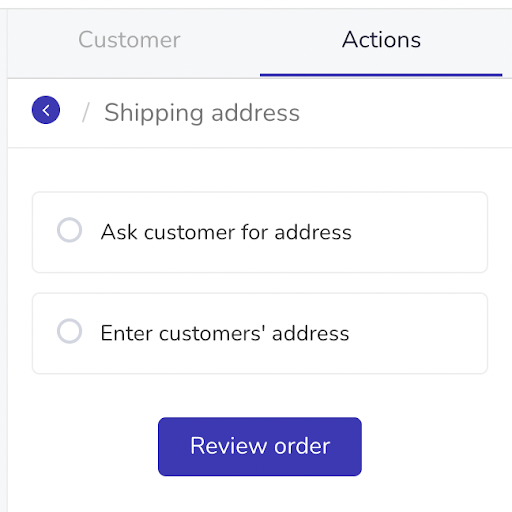
18. Check with the customer for their address. (Is applicable only if ‘ask customers their address?’ is enabled for the added products)
19. In the Order summary, you will find all the products including GWPs, products, Item or Order Level discounts etc already applied.
Note: The only discount that will not appear here is the Shipping Discount since the user’s Address is unknown. This discount will appear once the customer has filled in their Address while checking out.
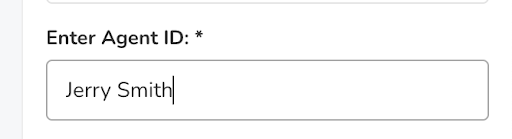
20. You will find your Agent Name prefilled in the Agent ID field. Feel free to change it if you want. The prefilled Agent name is picked from the Jumper User role from which you are logged in.
21. You can choose to add any additional notes such as “Gift Wrap required” or any additional remarks you want associated with this order. This will only appear internally, the customers won’t be able to see the note.
22. Once everything is confirmed, click on the “Proceed” button to generate a checkout link that you can then share with the customer.
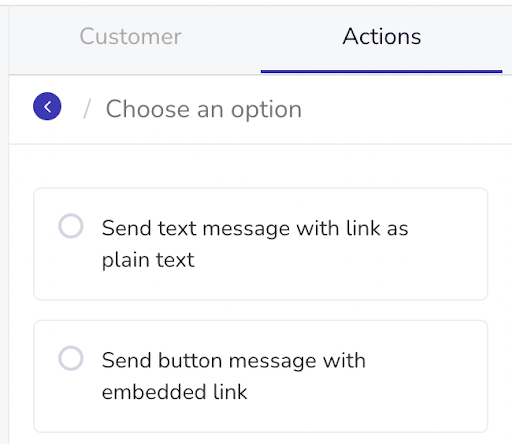
23. If you have selected option ‘Via checkout link’ for sharing order details with customer, then you will get an option to share link as plain text or send with button message, select the required option.
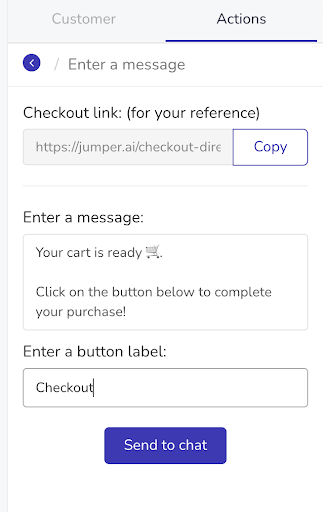
24. Once the checkout link is generated, you can copy and paste it in the chat or you can share a link with a message. The chat will stay assigned to you while the user clicks the link to see the cart created by you.
For button option, specify a button label to share the link.
25. You can continue to chat and guide the user while they input information into the Checkout Link.
26. Once they have completed the payment and their order ID has been generated, you will see the Order confirmation message in the Conversation panel confirming the same. This message will be automatically sent via the Jumper engine.

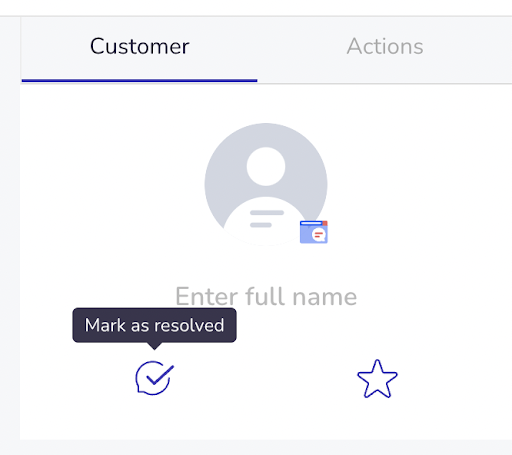
27. You can now choose to thank the customer or solve any other queries before marking the chat is Resolved.
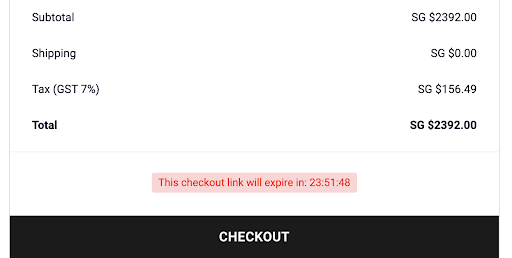
Note: Once a checkout link has been created, it is Valid for 24 hours from the time of creation. Also, the products and quantities in the checkout link can not be edited after creation. In such a scenario, you can create a new checkout link for your customer.
Articles in this section
- Live Chat - Copilot (AI) - BETA
- Live Chat 1:1 Outbound Messaging
- Live Chat Customer Action panel - Start Bot Flow
- Live chat Customer Action panel - Start Collection Flow
- Live chat Customer Action panel - Start Product Flow
- Live chat Customer Action panel - Request Payments
- Live chat Customer Action panel - Create Order
- Live chat Customer Action panel - Share Product Details
- Live Chat - Customer Info panel
- Conversations panel