Applies To
- Jumper
- SMS Broadcasts
Broadcasts can be used for multiple use cases such as updating customers on their orders, reminding them of events, notifying account-related updates, or anything else you can think of.
It allows Merchants to broadcast non-promotional messages to Users on supported messaging channels while working within channel restrictions.
Not only all customers who have ever interacted can be targeted under your broadcast, but SMS also allows you to even target customers who have not interacted with you on chat, you achieve this by using the CSV method while creating your broadcast.
Notes:
Each messaging platform has policies on when you can reach out to a user and what kind of messages can you send, it is for you to ensure and adhere to these guidelines.
Procedure
To create any broadcast, there will be 4 settings that will need to be configured in Broadcast:
- Messaging Channels: Where the Broadcast will be sent.
- Create Message: The message that will be broadcasted.
- Settings: Select the target audience for your Broadcast.
- Scheduling: Schedule your Broadcast to be sent right away or to be sent on a particular date & time.
- First Navigate to Automations >> Broadcast in the menu.
- Now set a name for your Broadcast and select SMS in Messaging Channels.
In case you didn’t set a name, names are added by default e.g. Broadcast #3. - Now under Create message, you will find the text option, which is the only supported message type for SMS, click on the same to add your text.
- Once you have added your message in the input field, you can also view the preview of your message on the right of your screen.
We suggest keeping your message character limit within 500, although up to 1500 characters limit is supported for messages, but not all carriers do.
Note: You can also send emojis, special characters & links within the message if it's supported by the country-specific carriers.
Adding custom field messages via CSV upload
In case you want to use a custom field to populate along with your text message, then you can achieve it by adding custom field columns within the CSV file that you will be uploading in the subsequent targeting step.
You can also populate the text message by adding a custom field. Now for each customer, you can provide different values under the CSV file & upload it via the CSV upload method while sending the broadcast.
Step 1: Add the custom field in the format “<custom_field_domainname>” for the required fields on your message.
e.g. Your domain <custom_field_domainname> will expire on <custom_field_expirydate>. Renew now to keep your website online: <custom_field_renewallink>.
Step 2: Now add the names of the fields exactly as mentioned in the message variable, e.g. domainname, expirydate & renewallink as extra columns in the upload CSV file & provide the relevant values.
Once sent, the customer will receive the message populated with the value provided under the CSV file. - Now you need to set your Targeting conditions under Settings for your broadcast.
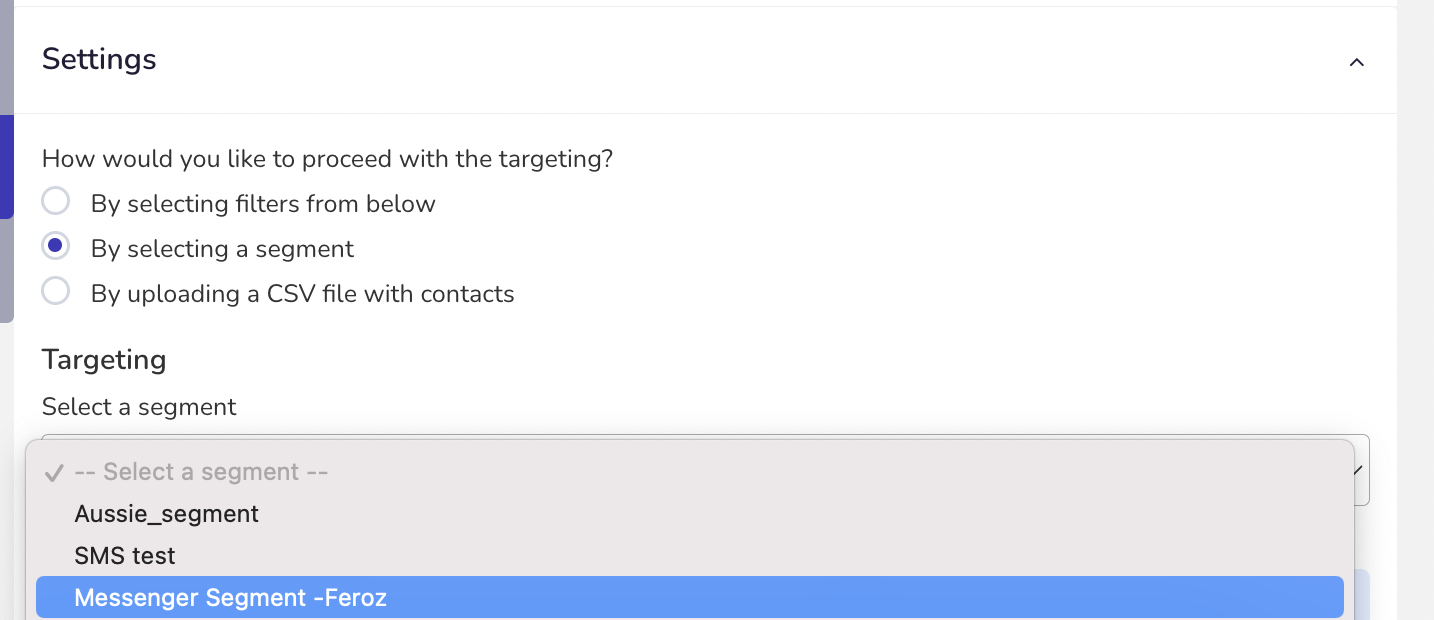
First, you need to set any one of the methods between Filters, segments, or CSV for your targeting.
Note: The segment option is visible only if you have already added at least one segment under Customers >> Segments. Know about segments & how to add segments here.


Segment(By selecting a segment)
If you choose the option By selecting a segment, you need to select any one of the added segments from the dropdown list of segments.
Make sure you have set up your Segment’s conditions suitable for your SMS broadcast before selecting.
Note: Avoid using “any of the following conditions” option under Segment conditions for SMS broadcast.
Filters (By selecting filters from below)
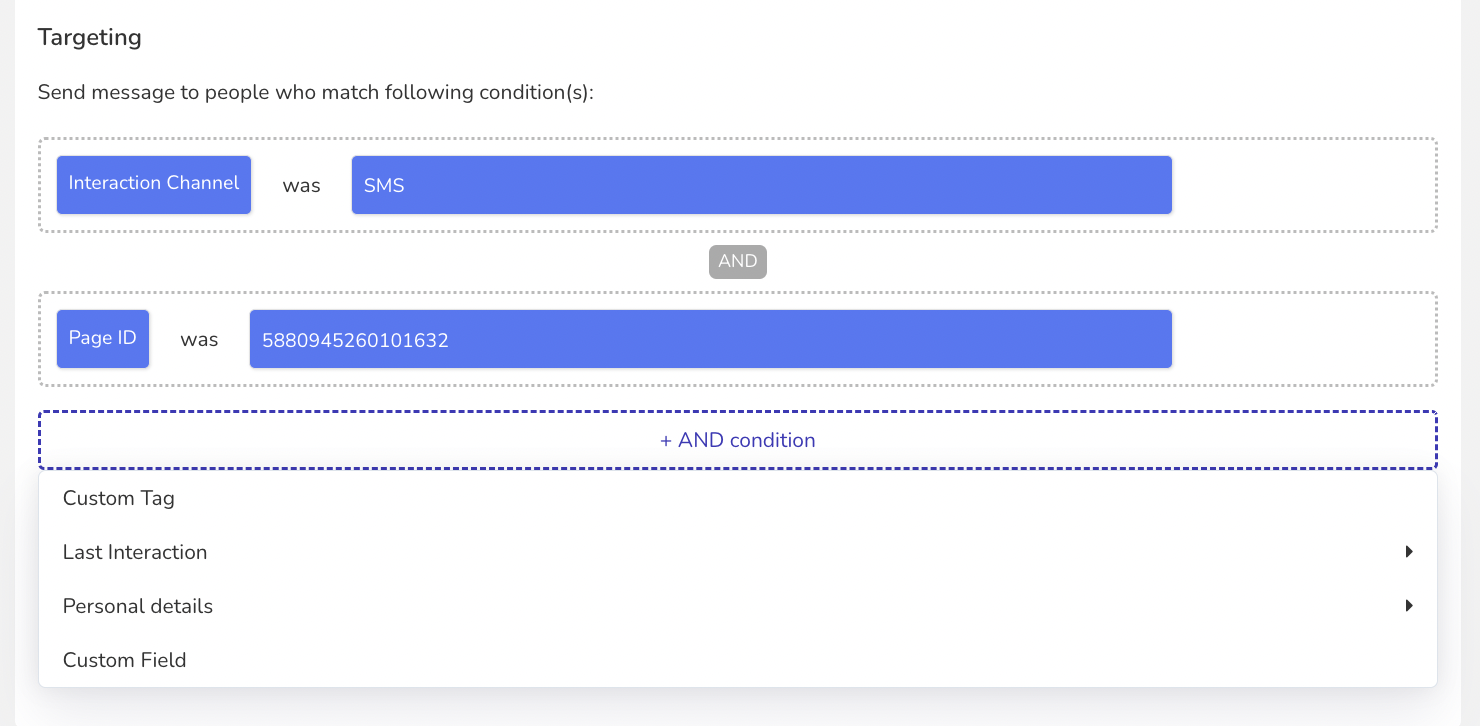
In the method By selecting filters from below in Targeting, you need to add conditional filters to your broadcast for your targeted customers.
Conditions
You will find 4 types of conditions which can be applied to your broadcast message, i.e. Custom Tag, Last Interaction, Personal details & Custom field.
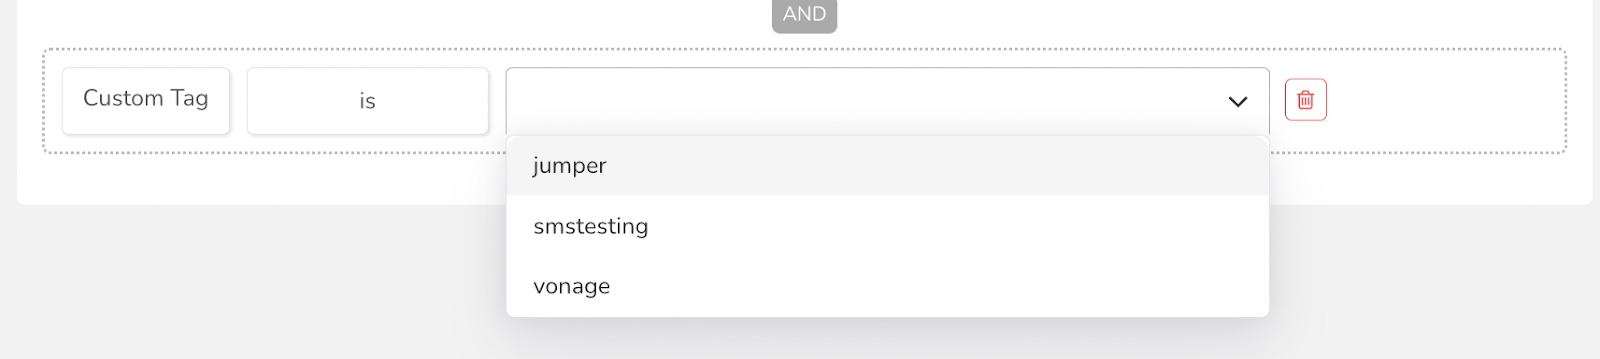
Custom Tag: In this condition, you will find a list of dropdowns of your added custom tags to the customer who has any past interactions, select any one of the tags. To add more tags simply add a new condition.
Last Interaction: In this condition, all customers who had past interactions with any of the selected filters, will be receiving your broadcast message.
Here you will find a list of the following filters to select from -
Interaction Date, Interaction Time, Talked with Agent, Completed the product flow, Completed the collection flow, Completed the bot flow & Has Item in Cart and not paid.
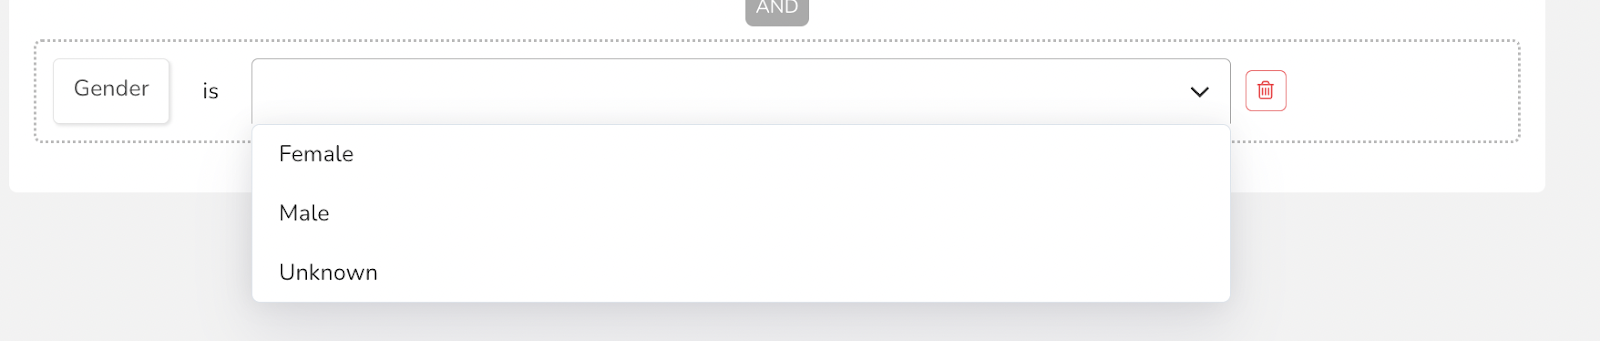
Personal Details: In this condition, you can add filters which will be based on the personal information of the customer, such as Name, Email, Number & Gender, followed by the targeting conditions such as Is, Isn’t & Is unknown. (the targeting conditions only apply on Name / Email / Number )
Let's say you select the Gender option under Personal details, then you need to select a gender option from the dropdown to be applied to the filter.
Custom field: With this filter, the custom fields are stored in CRM/live chat for each customer, it's a "key:value" pair, for example, "returningUser:true".
To remove any of the added conditions, simply click on the ‘delete’ icon.
Note: To know more about how to add and manage conditions, click here.
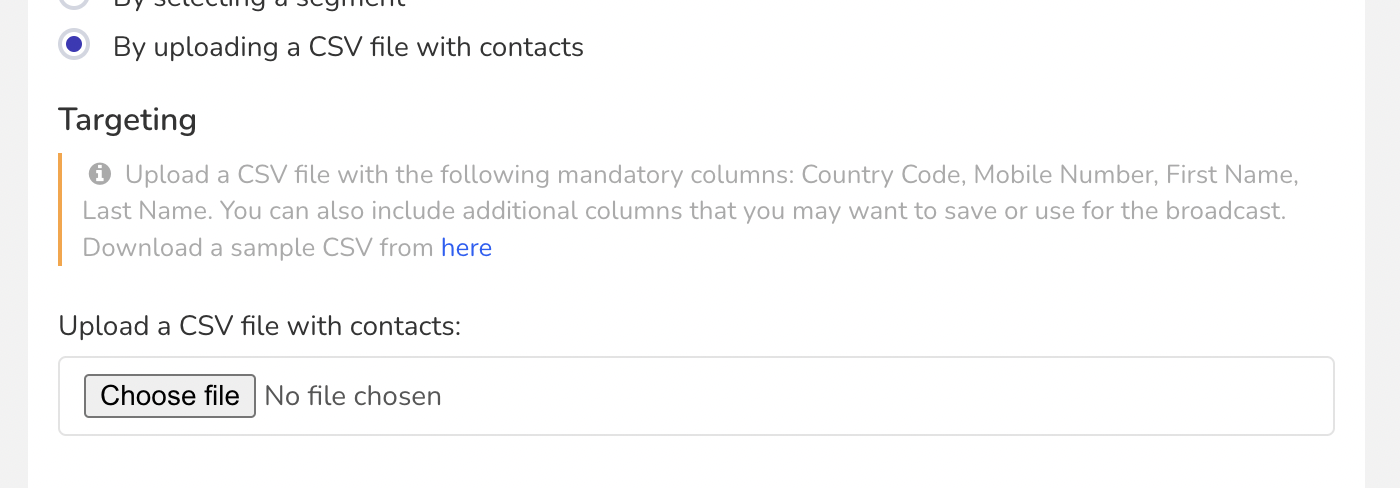
CSV (By uploading CSV file with contacts)


SMS allows you to even target customers who have not interacted with you on chat, you achieve this by using the CSV file upload method for your broadcast.
Via CSV Upload (Default)
In this method, you can upload a CSV file with the following mandatory columns as Country Code, Mobile Number, First Name & Last Name for your added contacts.
You can also include additional columns that you may want to save or use for the broadcast. (e.g. gender, DOB, etc.)
You can always download the sample CSV file to know more about how to add columns for your CSV.
Via CSV Upload (with Sender ID)
For the Sender ID method, follow the same steps as default with an additional field in the CSV file.
In this method, you can add a extra column named sender_id along with mandatory columns, where you can specify a number or name from which the messages would be delivered to each of your customers.
If no value is mentioned for Sender ID in the CSV file, then by default your connected number is taken as Sender ID, or in case no number is provided while connecting your SMS account, then by default the account name is taken as the Sender ID.
Note: Only characters & numbers are recommended for Sender ID values. Its recommended to keep your Sender ID within the limit of 11 characters.
For more details refer to https://developer.vonage.com/en/messaging/sms/guides/custom-sender-id
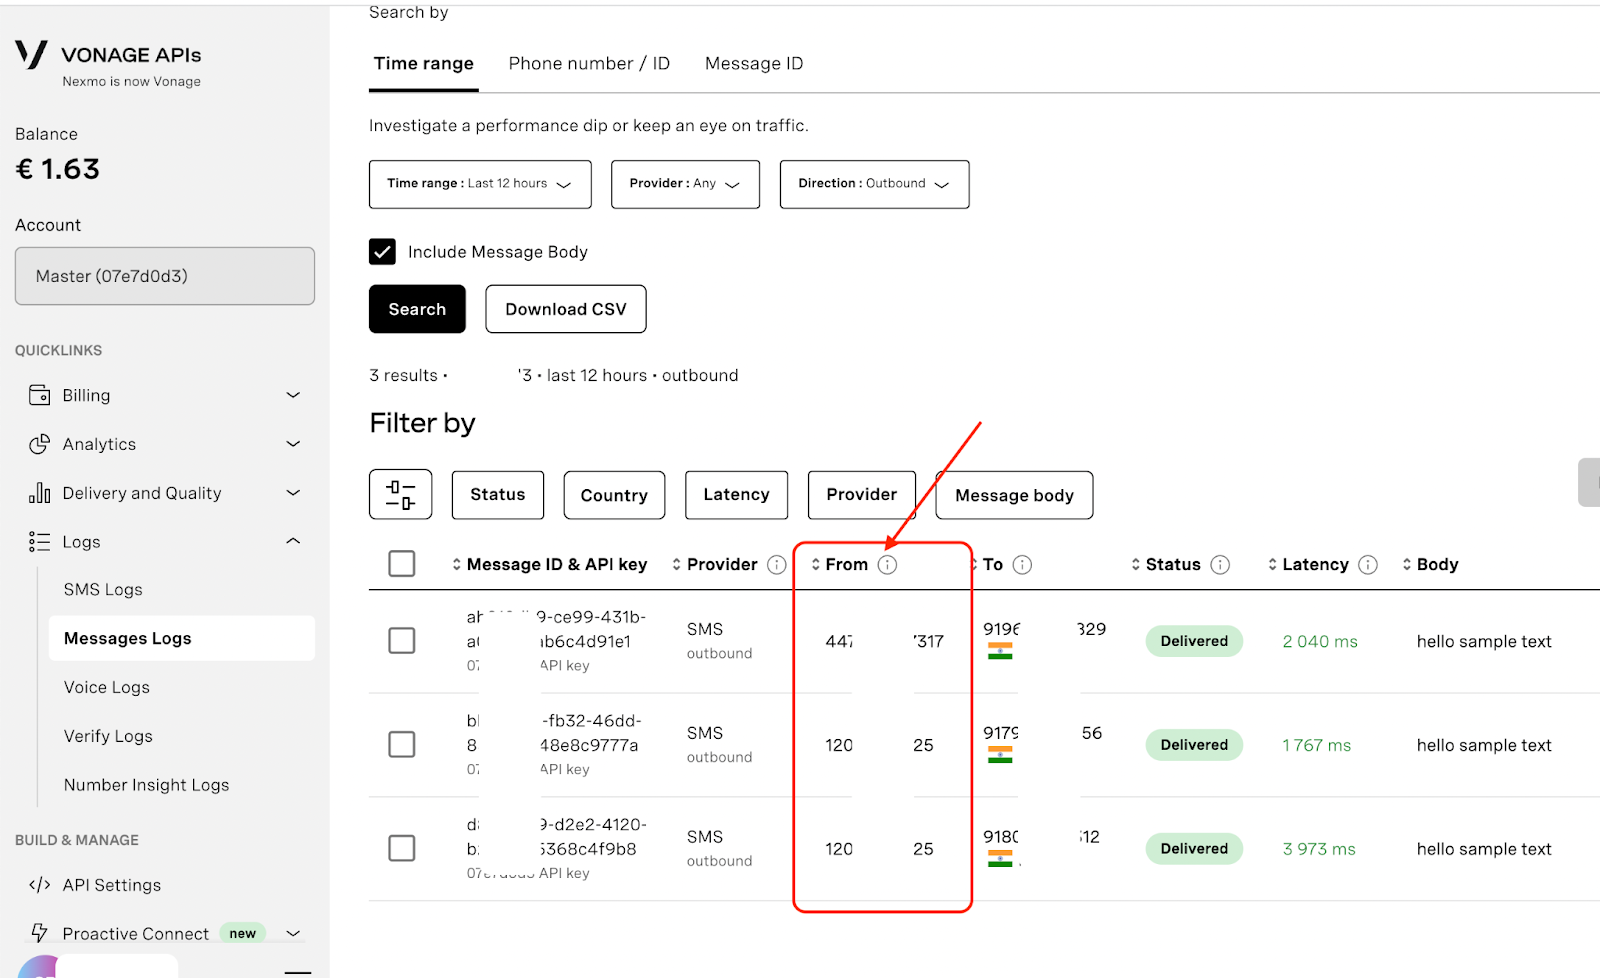
Once your broadcast is sent, you can check your Message/SMS logs under the Vonage API dashboard to view the Sender ID details.

Post sending your broadcast message, your customers will be marked with the same sender_id under Custom data in Live Chat.
If a sender_id field is present for a customer in custom data, it can be utilised for future conversations, whether through live chat or default broadcasts. I.e by filtering a particular sender ID you can view the list of customers marked under the same sender ID.
Note: In case a new CSV is uploaded with a different Sender ID for the same user, the existing sender id will be overwritten

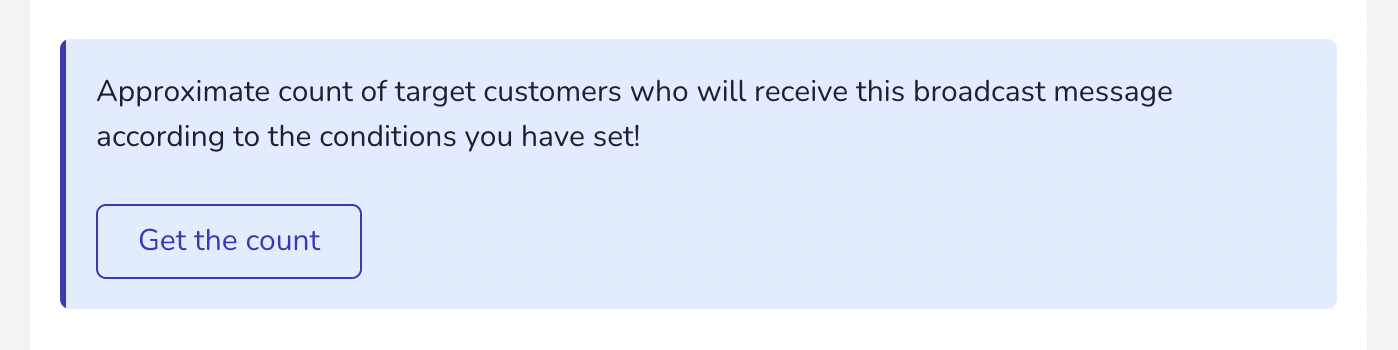
Get Count
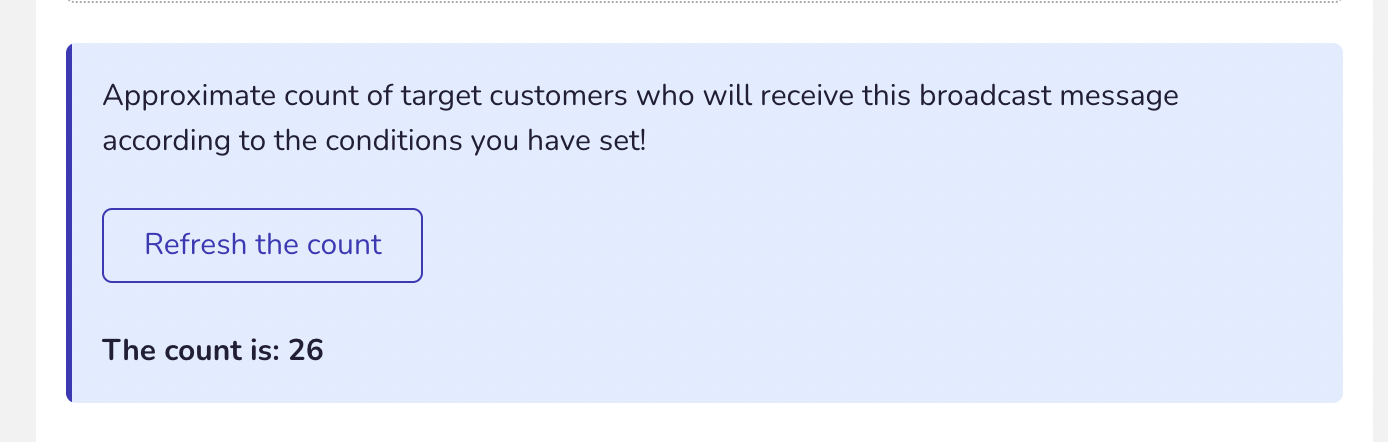
You can get the count for the targeted customers who fall under your added filters and conditions, by clicking on the Get the count option.In case you added a new condition click on Refresh the count to get the updated count for the same.
Note: The refresh count on broadcast is not real-time, generally it requires an hour for any newly added customers, tags, etc., to reflect the data on the broadcast end.
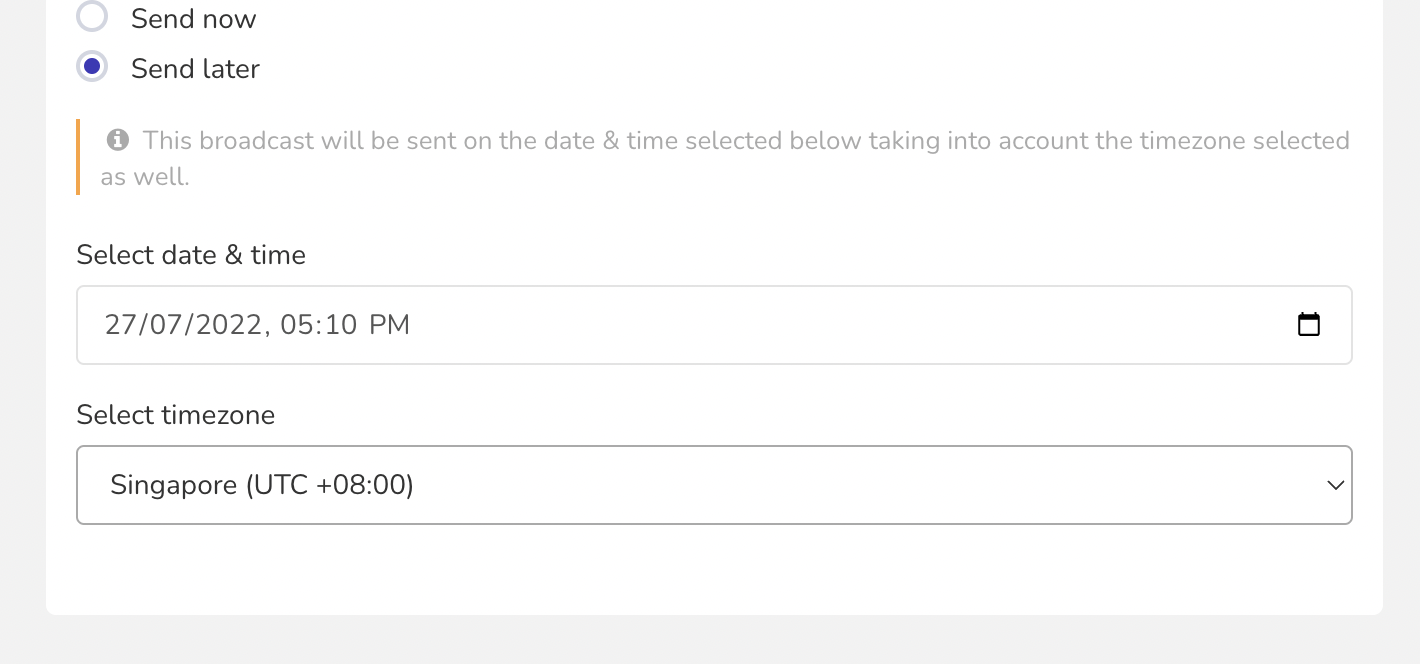
- Under the Scheduling section, you can specify when you want your broadcast to be sent, here you can choose between Send now or Send later options.
Send now: Will send the broadcast right away to the targeted customers.
Send later: You can schedule your broadcast to happen on your specified date and time.
. - Once you are done with creating and scheduling your broadcast, click on Save & send.
- If your customer list is too large, it will take time to execute the broadcast throughout all your customers, and you can always check your broadcast status under the STATUS column.
You can also download the targeted customer list for your created broadcasts under the TARGETED CUSTOMERS (CSV) column by clicking on Download CSV.


Articles in this section
- Google RCS Broadcasts
- Broadcast with SMS Failover
- Voice Broadcast
- Send WhatsApp broadcast messages with personalised media content for each recipient
- Instagram Broadcast (Beta - Limited access)
- Broadcast with A/B testing
- Telegram Broadcast
- SMS Broadcast
- Creating Line | GBM Broadcasts
- Detailed Explanation about Conditions for Broadcast & Segments