Objective
Segments are filters which are used for Broadcast messages to target customers, who fall under the added conditions of the segment.
With saved segments, you can use it anytime for any of the broadcasts without the hassle of creating filters/conditions again and again for new broadcasts.
Applies To
- Jumper
- Segments, Customers, Broadcast
Procedure
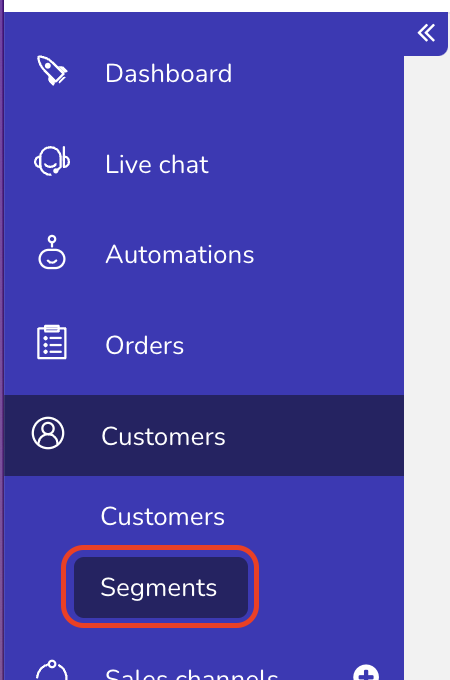
- To get started, locate the Customers >> Segments in the menu.
- On the Segments page, Click on Create new segment.
- Now add a name for your segment, segments are by default named with a number e.g. Segment #1, which can be renamed as per your requirement. Then, under the Interaction Channel, select any one of your connected channels from the dropdown for your segment.
- Once you have selected the channel, click on ‘+AND condition’ to start adding your conditioning filters.
You will find 4 types of conditions which can be applied to your broadcast message, i.e. Custom Tag, Last Interaction, Personal details & Custom field.


Custom Tag: In this condition, you will find a list of dropdowns of your added custom tags to the customer who has any past interactions, select any one of the tags. To add more tags simply add a new condition.

Last Interaction: In this condition, all customers who had past interactions with any of the selected filters, will be receiving your broadcast message.
Here you will find a list of the following filters to select from -
Interaction Date, Interaction Time, Talked with Agent, Completed the product flow, Completed the collection flow, Completed the bot flow & Has Item in Cart and not paid.
Personal Details: In this condition, you can add filters which will be based on the personal information of the customer, such as Name, Email, Number & Gender, followed by the targeting conditions such as Is, Isn’t & Is unknown. (the targeting conditions only apply on Name / Email / Number )
Let's say you select the Gender option under Personal details, then you need to select a gender option from the dropdown to be applied to the filter.
Custom field: With this filter, the custom fields are stored in CRM/live chat for each customer, it's a "key:value" pair, for example, "returningUser:true".


One can add multiple conditions for the Broadcast without any limits, by simply clicking on +Condition to add new conditions.
To remove any of the added conditions, simply click on the ‘delete’ icon.
To know more about how to add and manage conditions, click here.


- Get Count
You can also get the count for the targeted customers who fall under your added filters and conditions, by clicking on the Get the count option.
In case you added a new condition click on Refresh the count to get updated count for the same.
Note: The refresh count on broadcast is not real time, generally it requires an hour for any new added customers, to reflect the data on broadcast end. - Once you have added your filters and conditions, click on Save, to save the following details for your created segment.
- Once you have saved your segment, you will find it under the segments page, to edit any of the added segments, click on the Edit icon or to delete any of your segments click on Delete icon.
Note: If you edit a segment which has been already sent via any of the broadcast, the broadcast will be sent again to the targeted audience, including newly added customers who fall under your added filters/conditions for the selected segment.


