Objective
The objective of this article is to help users understand how to configure and utilise third-party APIs in Bot Builder, including setting up GET and POST requests, passing dynamic data using bot variables and custom fields, mapping API responses, handling response status codes, and effectively leveraging API data within bot flows.
Applies To
- Jumper.ai
- Bot Builder
- RCS
- SMS
- Chatbot
- Bot
- Low Code/No Code Bot Builder
- 3rd Party API
- GET/POST
Prerequisites
- A valid API endpoint URL
- Authentication credentials (if required by the API)
- Basic understanding of the API response (JSON structure)
Procedure
1.Accessing the Bot Builder
Navigate to the Bot Builder section from the left-side menu on the main dashboard.
2. Create a New Bot
Click on the "New Bot" button to start building your new bot.
3.Enter Bot Details
Provide the necessary information for your bot:
- Bot Folder
- Bot name
- Bot Description
4.Select Channel and Bot Trigger
Select the desired channel for the bot (such as WhatsApp), configure the triggers that initiate the bot conversation, and then click the Start Building Bot button.
5.Start Building the Bot
Selecting Start Building Bot opens the Configure Bot page, which allows you to configure message types, variables, and rule logic with conditions and operations.
6.Set Up Bot Variables
In the Bot Config page, configure bot variables under the Variable section:
- Bot variables are specific to each bot and can be used throughout the flow
- Variable names are limited to 60 characters
- These variables can store user inputs and API responses for use in subsequent steps
To create a bot variable:
- Navigate to the Variable section in Bot Config
- Click "Add Variable"
- Enter a variable name (maximum 60 characters)
- Define the variable type if applicable
7.Capture User Input (Optional)
Note: This step is optional and is only required if you plan to use the captured user input in a 3rd Party API.
Add a step to collect information from users and store it in bot variables:
- Add a new step in your bot flow
- Configure the prompt that will be displayed to users to collect the input
- Select the Save user response operation under the Rule section
- Map the user's response to a bot variable you created earlier to store the data
This variable will be available for use in API calls or other bot logic.
8.Configure Third-Party API Integration
This is the core step for integrating external services. Add a 3rd Party API step to the bot flow and configure the following:
HTTP Method
Select the appropriate HTTP method for your API request:
- GET - Retrieve data from the API
- POST - Send data to create new resources
API URL
Enter the complete endpoint URL for the third-party API. You can use bot variables in the URL using the appropriate syntax.
Configure Request Settings
- Include Certificate (Enable / Disable): When enabled, the system automatically attaches the configured SSL/TLS certificate to every API request. This is required for APIs that use mutual TLS (mTLS) to authenticate and verify the client’s identity.
- Set retry attempts (e.g., 1): This defines how many times the system retries the API call if it fails (failure = no 2XX response). Recommended range: 0–5.
- Set timeout in seconds (e.g., 20s): This is the maximum time the system waits for an API response before closing the connection. Recommended: 10 seconds (max 30 seconds).
Headers
Configure required headers such as:
- Authentication tokens
- Content-Type
- Add additional headers as needed by clicking on + Add new.
Query Parameters
Query parameters allow you to pass additional data to your API request. You can define parameter values using Bot Variables, Static Values, or Custom Fields, enabling dynamic and personalized API calls.
Supported value types:
- Bot Variables: Pass user input or data stored earlier in the bot flow
- Static Values: Send fixed values required by the API
- Custom Fields: Use predefined custom data fields
Body (if applicable)
For POST requests, configure the request body to send data to the external API. The request body can include Static Values, Bot Variables, or Custom Fields, enabling you to pass dynamic data at runtime.
- Open the Body tab in the API configuration panel.
- Select the appropriate Content Type (for example, JSON or Form).
- Define the request payload using a combination of static values and dynamic placeholders.
JSON format:
Note: When using JSON format in the request body, always wrap bot variables or custom fields, or customer attributes in double quotes ("{{variable_name}}") since they are treated as string values.
Form data:
Save and Test API Call
After configuring the API request (URL, method, headers, query parameters, and body), click Save & Test to validate the API call.
- Click Save & Test.
- Verify request details, response status, and payload.
- Ensure the response matches the expected data structure.
Please note: If the Save & Test button is not visible, try retyping or editing the API Request URL. The button should reappear after the URL is updated.
Mapping API Response to Bot Variables
After the API returns data, you need to map the response to bot variables for use in subsequent steps:
- Identify the response structure: Review the API documentation to understand the JSON response format
- Use object path notation: Navigate nested response objects using dot notation
- Map to bot variables or custom fields: Assign specific response values to variables
Response Mapping Examples:
For a simple response:
{
"status": "success",
"data": "Result value"
}
Configure the following in object paths:
- status → bot variable (e.g., apistatus)
- data → bot variable (e.g., apidata)
For a nested response:
{
"user": {
"name": "John Doe",
"email": "john@example.com",
"address": {
"city": "New York"
}
}
}
Configure the following in object paths:
- user.name → bot variable (e.g., userName)
- user.email → bot variable (e.g., userEmail)
- user.address.city → bot variable (e.g., userCity)
For array responses:
{
"results": [
{"id": 1, "title": "First Item"},
{"id": 2, "title": "Second Item"}
]
}
Configure the following in object paths:
- results[0].title → bot variable (to get first item)
- results.length → bot variable (to get array count)
Mapping to Custom Fields:
In addition to bot variables, you can map API response values to custom fields in your system:
- Select the custom field from the dropdown or field selector
- Specify the response object path
- Ensure data type compatibility between the API response and the custom field
- Custom field mappings persist beyond the bot conversation and can be used for reporting and analytics
Response Status Code Parameter
The Response Status Code Parameter stores the API’s HTTP response status code (for example, 200, 401, or 500) in a bot variable. This allows you to evaluate the result of the API call and control the bot flow accordingly.
Common use cases:
- Route the conversation based on success or failure conditions
- Display error messages for non-2XX responses
- Trigger fallback or retry logic
Validate Response mapping
After mapping the API response fields to Bot Variables or Custom Fields, click Save & Test to validate the configuration.
Please note: If the Save & Test button is not visible, try retyping or editing the API Request URL. The button should reappear after the URL is updated.
During validation, ensure that:
- The response mapping executes successfully
- The mapped variables or custom fields are populated with the correct values
- The data appears correctly in the Test Results section
Validating the response mapping confirms that the API data is being stored properly and is ready to be reused in later steps of the bot flow.
.
9.Use API Response in Subsequent Steps
Once the API response is mapped to bot variables or custom fields, you can use this data in the following ways:
- Display information to users in messages
- Use response data in conditional logic to determine the bot's flow
- Pass data to additional API calls
- Store information in your CRM or database
- Make decisions based on API response status
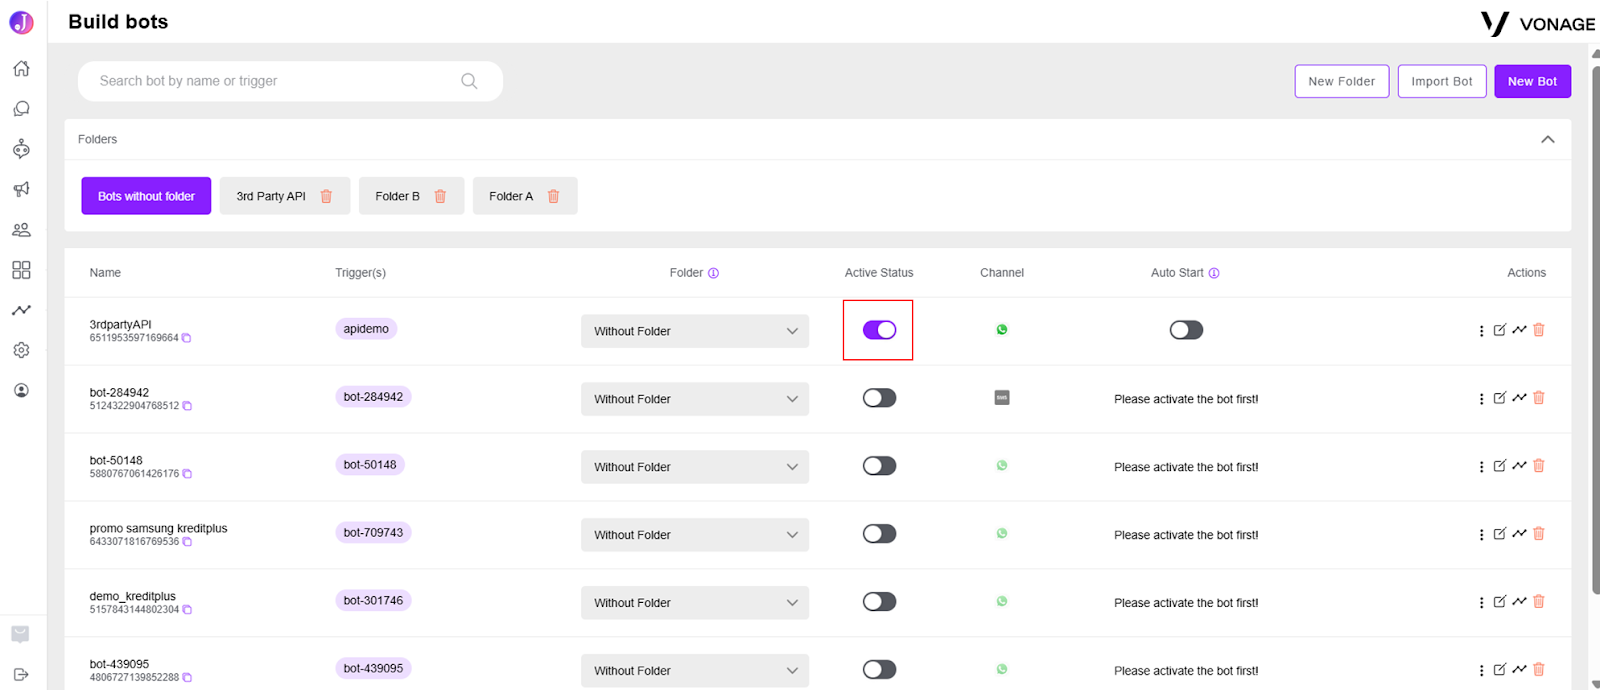
10. Validate and Activate the Bot
Before deploying your bot:
- End the bot flow
- Validate and Activate
Additional Information
Related to: