Objective
Setting up a Custom domain in Jumper.ai
Applies To
- Custom domain
- Jumper
Note: Changing your custom domain will affect your Jumper.ai store URL, checkout URLs & referral campaign URLs.
Procedure
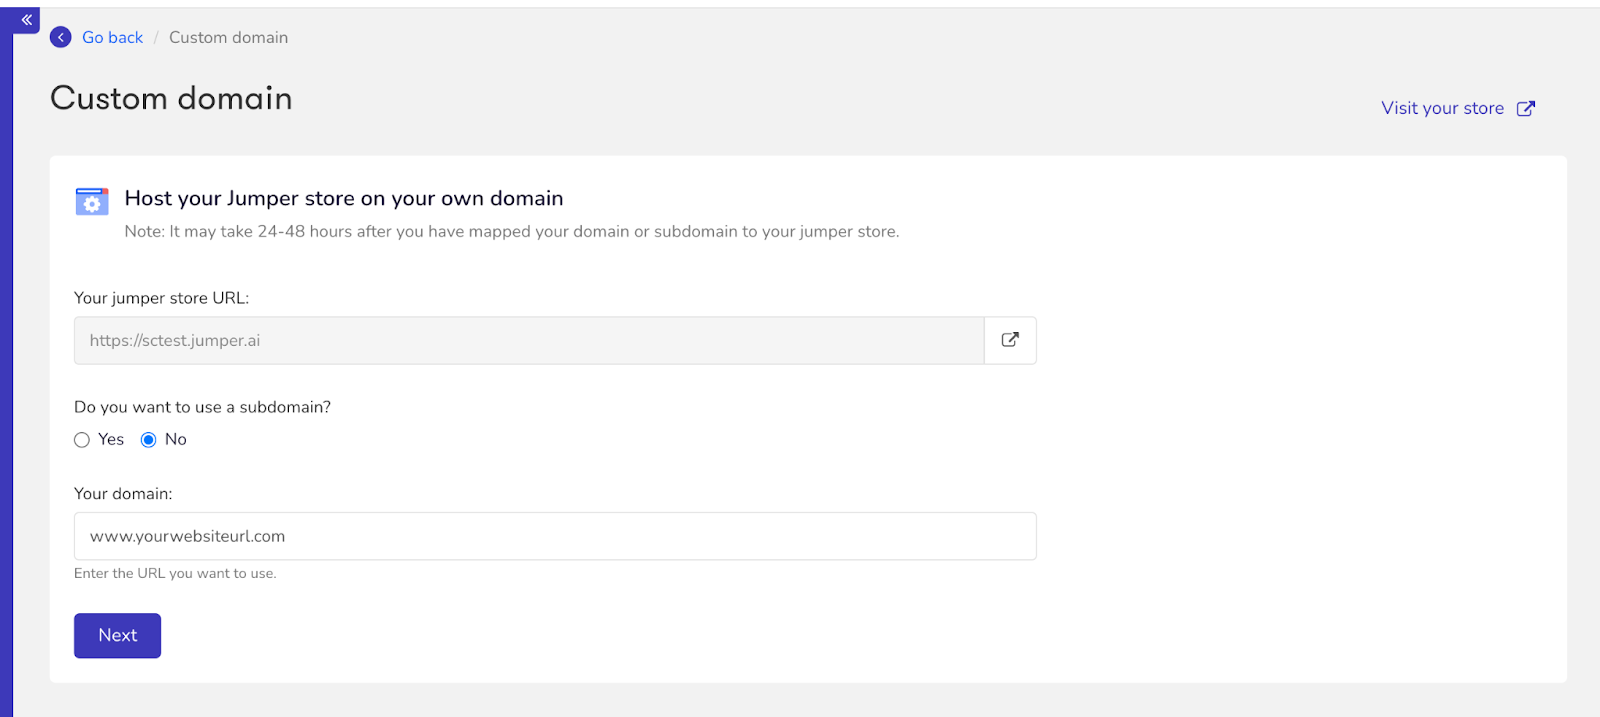
- First Navigate to Settings >> Setup your domain on the Jumper.ai dashboard.
- Add your domain URL to host your store, in case you want to use your subdomain URL to host, then select the option Yes to enter a subdomain URL. Once added, click on Next.
- Based on your requirements follow the steps to setup your DNS for domain & sub-domain:
For Domain configuration:
Login to your DNS manager & create 2 records.
Step 1:
First, create the TXT record type by adding the following details:
A. Keep the Host Name Blank or add @.
B. Select the TXT under record type.
C. Paste the link copied from the Jumper.ai dashboard under the value/route.
D. Set the Time to Live (TTL) at 3600 seconds (or 1 hour) & save the record.
Step 2:
Now create the A record type by adding the following details:
A. Keep the Name/Host? Alias blank or add @.
B. Now select record type A.
C. Choose the endpoint option for Value/Answer/Destination & add the record values as shown on your Jumper.ai dashboard. (Note: some hosts use different labels for the name and value fields)
D. Set the Time to Live (TTL) at 3600 seconds (or 1 hour) & save the record
Wait for DNS to propagate (this may take a few hours).
After following the above steps, click the Verify domain setup button on the Jumper.ai dashboard to verify if your DNS has been set up correctly.
Sub-Domain configuration:
Login to your DNS manager & create 2 records.
Step 1:
First, create the TXT record by adding the following details:
A. Keep the Host Name Blank or add @.
B. Select the TXT under record type.
C. Paste the link copied from the Jumper.ai dashboard under the value/route.
D. Set the Time to Live (TTL) at 3600 seconds (or 1 hour) & save the record.
Step 2:
Now create the CNAME record type by adding the following details:
A. Keep the Record Name Blank or add @.
B. Now select the record type as CNAME (i.e. routes traffic to another domain) in your DNS Manager.
C. Under Value/Route traffic, add the link “jump.jumper.ai”.
Your subdomain, e.g. shop.yourdomain.com should point to jump.jumper.ai
D. Set the Time to Live (TTL) at 3600 seconds (or 1 hour) & save the record.
Wait for DNS to propagate (this may take a few hours).
After following the above steps, click the Verify domain setup button on the Jumper.ai dashboard to verify if your DNS has been set up correctly.
- Once the verification is done, you can check the status of your connected domain.
In case your status is shown as Not verified, then click on the Check instructions & verify button, to verify the steps again.
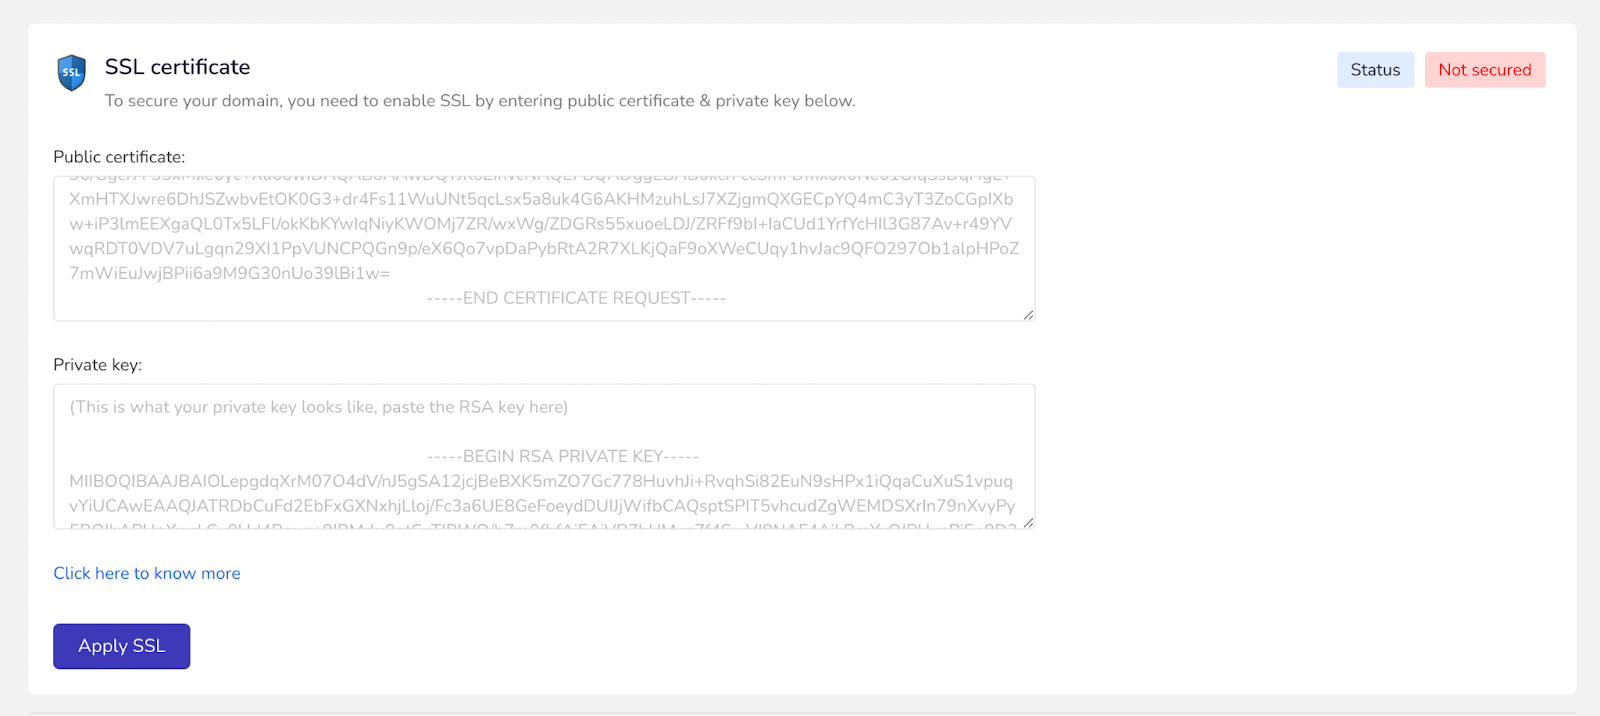
- You can also apply for an SSL certificate to secure your domain. You can enable SSL by entering the public certificate & private key under the SSL certificate section, then click on Apply SSL.
- If you want to disconnect your domain, simply click the Disconnect option.